Introduction
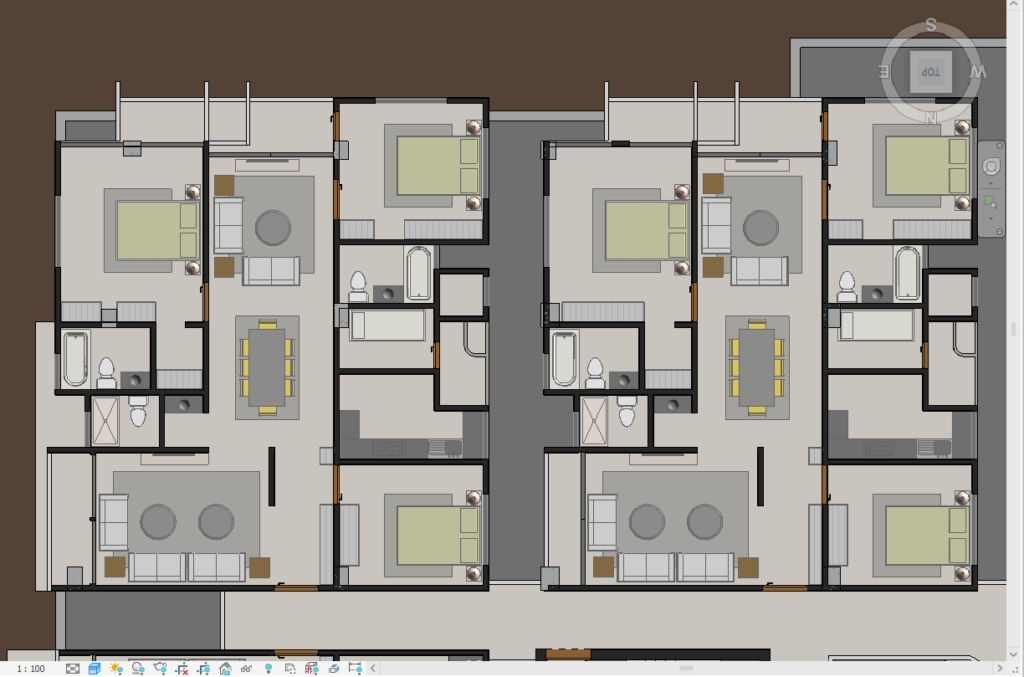
Creating compelling visualizations is crucial for effectively communicating your design ideas. Revit Architecture offers a range of tools and features to help you produce stunning visualizations that captivate your audience. In this article, we’ll explore techniques and tools to enhance your Revit visualizations and make your presentations stand out.
1. Use High-Quality Materials and Textures
Materials and textures play a significant role in the realism of your visualizations. Use high-quality materials and textures from Revit’s library or import custom ones to enhance the visual appeal of your models.
2. Optimize Lighting
Lighting is key to creating realistic and captivating visualizations. Experiment with different lighting settings, such as natural light, artificial light, and shadows, to achieve the desired effect. Use Revit’s rendering tools to simulate various lighting conditions.
3. Apply Advanced Rendering Techniques
Revit’s built-in rendering tools can produce impressive results, but for more advanced rendering, consider using third-party plugins like Enscape, Lumion, or V-Ray. These tools offer additional features and settings to create photorealistic renderings.
4. Utilize Camera Views
Create dynamic and engaging visualizations by utilizing camera views. Set up perspective views, walkthroughs, and flyovers to provide different angles and experiences of your design.
5. Incorporate People and Objects
Adding people, furniture, and other objects to your visualizations can bring your designs to life and provide a sense of scale. Use Revit’s library or import custom objects to enhance your scenes.
6. Enhance with Post-Processing
Post-processing can elevate your visualizations to the next level. Use image editing software like Adobe Photoshop to adjust colors, add effects, and refine details. This step can make a significant difference in the final presentation.
7. Create Animations and Walkthroughs
Animations and walkthroughs offer an immersive experience for your audience. Use Revit to create animations that showcase different aspects of your design, or generate walkthroughs that guide viewers through your project.
8. Leverage Virtual Reality (VR)
Virtual reality is becoming increasingly popular for architectural presentations. Integrate Revit with VR platforms to create interactive and immersive experiences that allow clients to explore your designs in a virtual environment.
9. Use Consistent Branding and Presentation
Maintain a consistent branding and presentation style to create a professional look. Use custom title blocks, logos, and templates to ensure your visualizations align with your brand identity.
10. Gather Feedback and Iterate
Share your visualizations with colleagues, clients, and stakeholders to gather feedback. Use their input to make improvements and iterate on your designs. Continuous refinement will help you achieve the best possible results.
Conclusion
Creating stunning visualizations in Revit requires a combination of technical skills, creativity, and attention to detail. By using high-quality materials, optimizing lighting, applying advanced rendering techniques, and leveraging additional tools like VR and post-processing, you can produce captivating visualizations that effectively communicate your design ideas. Embrace these tips and techniques to take your Revit presentations to the next level.


