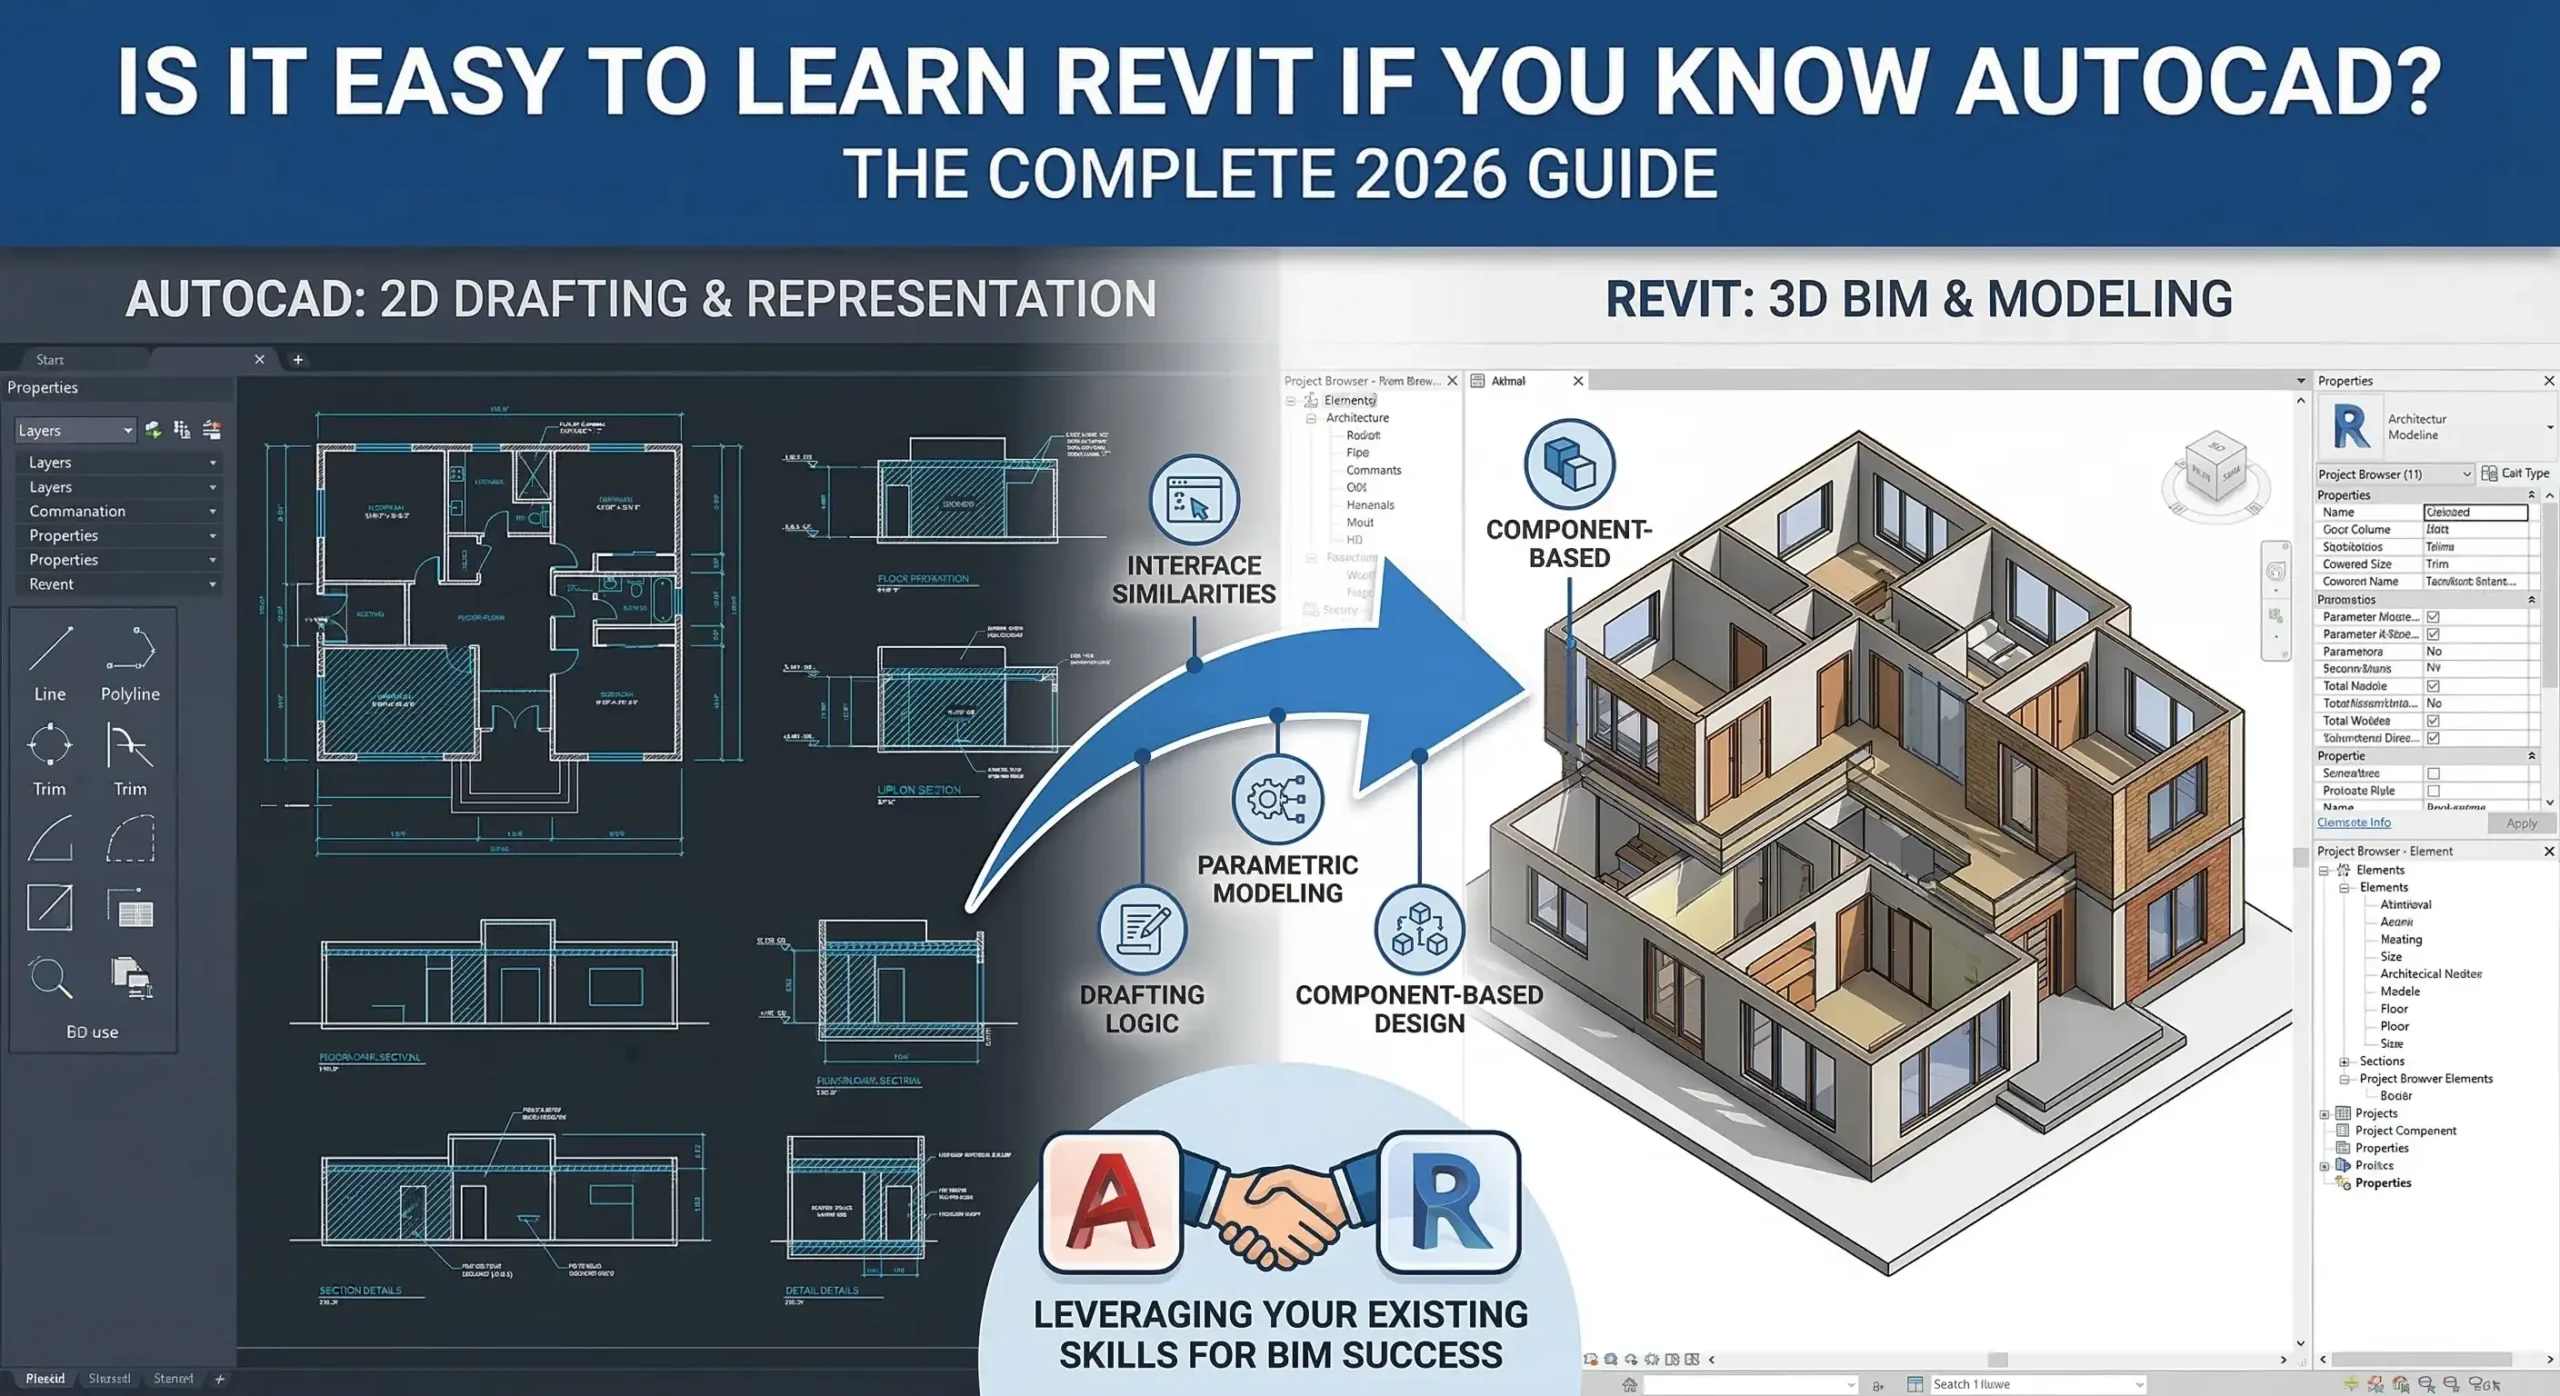
🏗️ Introduction: From Drafting to BIM
If you’re an architect, structural engineer, or designer who’s comfortable in AutoCAD, the thought of moving to Revit can feel overwhelming. After all, AutoCAD is all about lines, layers, and 2D drafting, while Revit is about 3D parametric modeling, collaboration, and BIM workflows.
But here’s the truth: knowing AutoCAD gives you a strong foundation. With the right approach, learning Revit after AutoCAD is faster and more intuitive than starting from scratch.
In this guide, we’ll take you step by step through everything you need to know — from mindset shifts and essential tools to project workflows and advanced tips for 2025.
🧠 Step 1: Understand the Mindset Shift
AutoCAD vs Revit Thinking
- AutoCAD: You draw lines, manually manage sheets, and track changes by hand.
- Revit: You model real-world building components that are intelligent, interconnected, and data-rich.
Key Mindset Change:
In Revit, you’re not drawing — you’re building a digital representation of a building. Every wall, door, and beam you place carries metadata (type, dimensions, materials) that influences plans, elevations, schedules, and quantities.
Pro Tip: Think of Revit as drafting powered by intelligence — the lines you draw are only the beginning.
🛠️ Step 2: Familiarize Yourself with the Revit Interface
Main Differences from AutoCAD
| Feature | AutoCAD | Revit |
|---|---|---|
| Interface | Ribbon or command line | Ribbon + Properties Palette + Project Browser |
| File System | DWG files | Central Model (.rvt) + Linked Models |
| View Types | Model space & paper space | Plan, 3D, Elevation, Section, Sheet views |
| Layers | Layer-based | Worksets, Categories, Families |
| Commands | Command-line input | Ribbon tools, context-sensitive menus |
Quick Tips
- Project Browser: Navigate all views, sheets, families, and schedules.
- Properties Palette: Modify parameters of selected elements (height, type, materials).
- Ribbon: Tools are organized by discipline (Architecture, Structure, MEP).
- Worksets: Enable collaboration on shared models.
Spending a day exploring these tools will reduce frustration later and help you understand Revit’s logic.
🏗️ Step 3: Start with Basic Elements
Walls, Floors, and Roofs
In AutoCAD, walls are lines and layers; in Revit, walls are parametric objects.
- Add a wall → Set type (interior, exterior, structural) → Assign thickness → Place in plan.
- Modify height or location → All associated views update automatically.
Tip: Use the “Edit Type” feature to change wall parameters for multiple instances at once.
Doors and Windows
- Revit comes with families for doors and windows.
- In AutoCAD, you’d draw these manually; in Revit, the family updates dimensions, schedules, and tags automatically.
Practical Exercise: Place 3 different window types and watch how Revit updates all elevations and schedules.
🔩 Step 4: Learn Families and Components
Why Families Matter
A Revit Family is like a template for real-world components.
- Walls, doors, windows, beams, columns → predefined families
- You can create custom families for unique design needs
Key Concept: Families are reusable and parametric — changing a parameter updates every instance in the project.
Tip: Start with preloaded Autodesk libraries before creating your own families.
📐 Step 5: Grids, Levels, and Reference Planes
Structural Reference Points
In AutoCAD, you draw reference lines and grids manually. In Revit:
- Levels: Define vertical heights for floors, roofs, and ceilings
- Grids: Set structural axes for columns and walls
- Reference Planes: Aid alignment and modeling
Exercise: Create a 3-level residential project with grids — notice how walls, floors, and roofs snap to levels automatically.
🧱 Step 6: Build Your First 3D Model
From 2D Drafting to 3D Parametric Model
- Draw walls using levels as reference.
- Add doors, windows, and openings.
- Insert floors, roofs, and ceilings.
- View your model in 3D → adjust and refine.
Pro Tip: Frequently switch between plan view, 3D view, and elevation views to verify accuracy.
📄 Step 7: Sheets, Views, and Documentation
Unlike AutoCAD, Revit links all views to a central model.
- Sheets: Place multiple views for printing or PDF export.
- Annotations: Tags, dimensions, and text update automatically when the model changes.
- Schedules: Automatically generated lists of doors, windows, or materials.
Exercise: Create a sheet with 1 plan, 1 elevation, and a schedule. Make a change in the model → see it reflect instantly on all views.
🌐 Step 8: Collaboration in Revit
Worksharing Basics
- Revit allows multiple users to work on the same central model using Worksets.
- Changes are synced through BIM 360 or Autodesk Docs.
- Prevents file version conflicts common in AutoCAD workflows.
Pro Tip: Start with small team projects to get comfortable with checking in and borrowing elements.
📊 Step 9: Revit vs AutoCAD Productivity Boost
Why Revit Saves Time
- AutoCAD: Each view or sheet requires manual updates.
- Revit: One change updates all plans, sections, schedules, and 3D views.
Example: Change the height of a beam → all connected elements adjust automatically → schedules update → clash detection alerts appear.
Result: Less repetitive work, fewer errors, and faster project delivery.
🧠 Step 10: Advanced Tips for AutoCAD Users Transitioning to Revit
- Start with Templates: Use architectural or structural templates to avoid manual setup.
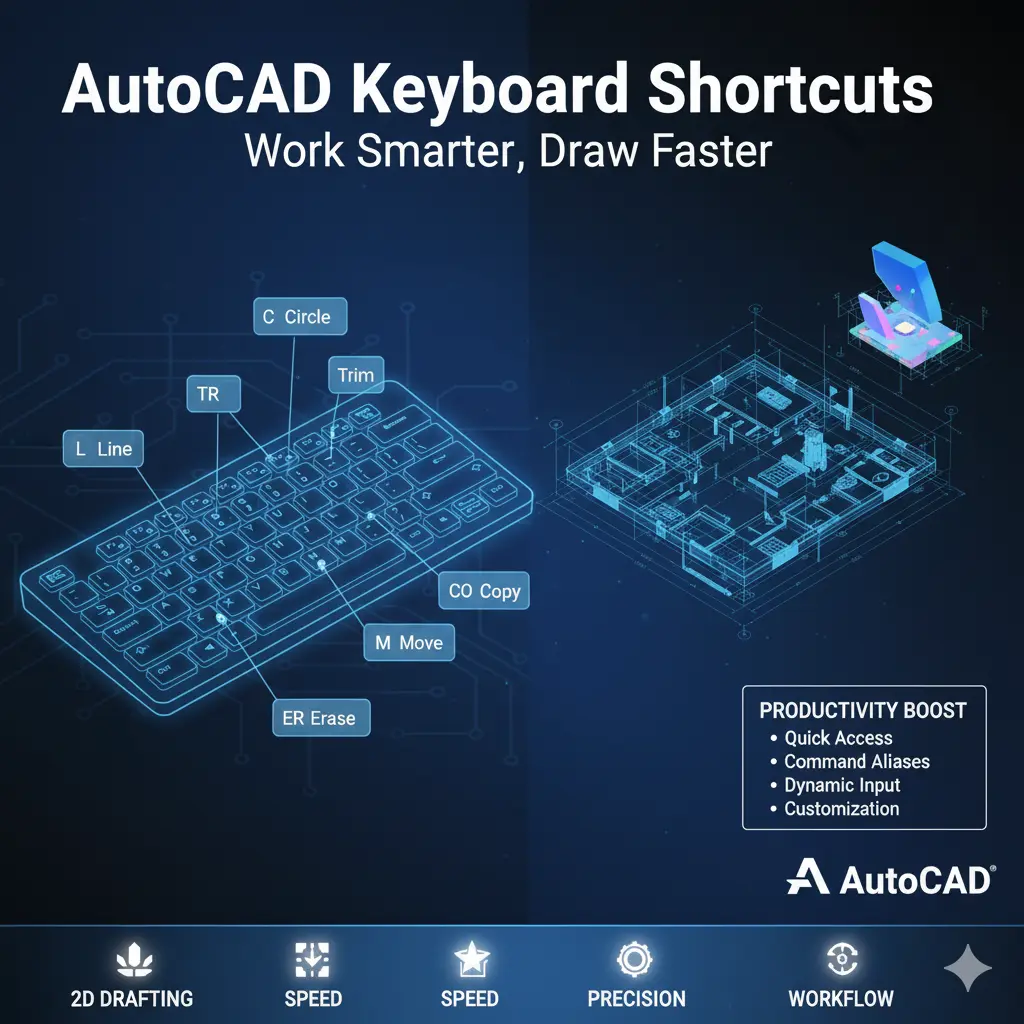
- Keyboard Shortcuts: Revit supports shortcuts similar to AutoCAD commands.
- Link DWG Files: Import existing AutoCAD drawings as references to ease transition.
- Work in Phases: Create simple projects first, then add complexity (stairs, roofs, custom families).
- Regularly Use 3D View: Helps understand spatial relationships.
Pro Tip: Think in objects, not lines — this mindset speeds learning dramatically.
💡 Common Mistakes AutoCAD Users Make
| Mistake | Why It Happens | How to Fix |
|---|---|---|
| Trying to draw everything | AutoCAD habit | Use parametric tools instead |
| Ignoring Families | Familiar with blocks | Learn and modify families |
| Not using Levels | Levels are new concept | Define levels first |
| Manual schedules | AutoCAD manual | Use Revit schedules |
| Overcomplicating Views | Too many redundant views | Use Project Browser efficiently |
🏆 Step 11: Practice Project Example
Residential Apartment Workflow
- Create Levels & Grids → 5 floors
- Model Walls & Floors → Parametric walls, slab floors
- Insert Doors & Windows → Select families
- Add Roof & Ceiling → Align with levels
- Generate Sheets & Schedules → Door schedule, room finish schedule
- Check in Teamwork Model → BIM 360 collaboration
Outcome: Fully coordinated 3D model, ready for visualization and documentation — all faster than AutoCAD manual drafting.
📚 Step 12: Recommended Learning Resources
Free
- Autodesk Revit official tutorials
- YouTube channels: Balkan Architect, TheRevitKid
- Autodesk Knowledge Network
Paid
- LinkedIn Learning Revit courses
- Udemy: “Revit for AutoCAD Users”
- Lynda: Advanced Revit for BIM Professionals
Pro Tip: Focus on hands-on project practice, not just videos.
🌟 Step 13: Transition Strategy for Firms
- Pilot Projects: Start with small Revit projects before large-scale adoption.
- Gradual Training: Provide AutoCAD-trained staff with guided Revit workshops.
- Hybrid Workflow: Use AutoCAD for legacy drafting, Revit for BIM and coordination.
- Standardize Templates & Families: Build firm-specific templates for efficiency.
By approaching Revit transition step-by-step, firms reduce frustration, errors, and downtime.
🧩 FAQs
1. Is Revit harder to learn than AutoCAD?
Yes, initially. But the long-term efficiency, collaboration, and BIM capabilities make it worthwhile.
2. Can I use my AutoCAD knowledge in Revit?
Absolutely. Skills in drafting, precision, and design logic transfer directly. It just requires a mindset shift.
3. How long does it take to learn Revit after AutoCAD?
Typically 4–8 weeks for a beginner to become comfortable with small projects, depending on prior CAD experience.
4. Can I import AutoCAD drawings into Revit?
Yes. You can import DWG files as references or link them to your Revit project.
🧭 Conclusion: From AutoCAD to Revit Made Easy
Transitioning from AutoCAD to Revit doesn’t have to be intimidating. By understanding the mindset shift, mastering families, levels, and parametric modeling, and practicing real projects, you can become proficient in Revit in a few weeks.
For architects, engineers, and design professionals in 2025, Revit is more than software — it’s a workflow that saves time, improves accuracy, and enables collaborative BIM design.
Start small, stay consistent, and embrace the power of BIM — your future projects will thank you.